
Disability and travel: our ultimate travel tips
Starting to prepare for your holiday this year? Well before you book, you’ll want to read on. Disability Horizons Co-founder Srin Madipalli, who has Spinal Muscular Atrophy and runs accessible accommodation website Accomable, tells us his top tips for travelling when you have a disability.
1. Give yourself time to plan your trip and be organised
It goes without saying, but the more time you give yourself, the easier it is to arrange whatever you need.
2. Tour operator or go solo?
This decision usually depends on where we are travelling to. Generally speaking, using a tour operator can be the best option when travelling to countries where facilities for disabled people aren’t great. This is more likely to be the case in developing countries that lack basic infrastructure.
It also depends on how confident you are at organising your own trip and special arrangements. Tour operators are likely to have approved and verified the local service providers, such as accessible taxis and hotels. A tour operator may also be able to offer equipment hire for items such as hoists or commode chairs.
But tour operators do tend to have strict itineraries, so you won’t have as much flexibility if you go with one. Going solo is also likely to be a lot cheaper than using a tour operator. However, it may be much harder to guarantee that the special arrangements you need are in place, and that they are to the standard and quality you expect and require.
Although, the next steps I have listed are more likely to be used when going solo, it will be helpful to consider some in any occasion.

3. Do some research on your destination
Before booking flights, do some basic research on whether your desired travel destination can cater for your needs. Make sure you track down the two key things you’ll need: accessible transport and accessible accommodation.
If you use a wheelchair, you’ll also need to determine whether the location is suitable for wheelchair users – some places in the world are more access-minded than others.
4. Finding accessible accommodation
Experience has shown me that most major international hotel chains have specially adapted rooms in many countries. However, never rely on this! You’ll always need to confirm this prior to booking.
It is often better to book directly with a hotel rather than through a general third party booking service, such as Expedia or Hotels.com. In my experience, arranging or informing a hotel of special requirements through a third party provider is unreliable.
This is a large part of why I set up Accomable. It works in a similar way to well-known online booking sites, but only features accessible accommodation that we have vetted. Accommodation providers must send us proof of the accommodation’s accessibility. This means you have a choice of accessible accommodation from across the world. You can then make the booking directly with the hotel or apartment via Accomable.
Although we do our utmost to check accessibility, it’s always worth contacting the hotel prior to booking and clearly stating what you specifically need. Where possible, do not do this by phone. It is better and much more reliable to email.
This is because in some countries, there can be a tendency for hotel reception staff to say “yes” to whatever you ask if you call. Additionally, due to either language barriers or a lack of accessibility awareness, hotel staff may not fully understand what you require, or may not be aware of the access features of their hotel. But by doing it email means they have time to translate and investigate before they answer.
When the hotel staff return your email, if doubts persist, ask for them to send you pictures of the adapted features you have requested so your satisfied. We often ask hotels to specifically send pictures of a adapted bathrooms as the concept of a ‘roll-in shower’ is not always universally understood.
Only book once you are satisfied all these issues have been addressed and answered. If in doubt, email the hotel again and again until you are happy. Remember, the hotel is providing you a service for which you are paying good money. If they want your business, it is their duty to address and answer your concerns.
5. Finding accessible transport
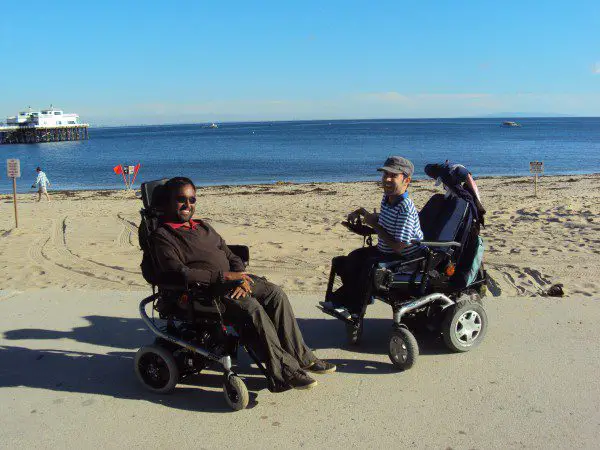
In my experience, this has always been the biggest problem. I can’t be lifted from my heavy wheelchair into a car, so I require transport that allows me to stay in my wheelchair.
The accessibility of public transport varies greatly across the world, and can rarely be relied upon. Therefore, the only other option is to either rent a wheelchair-accessible van to be driven by my PA, or to use a taxi.
Sometimes it’s a case of simply Googling as much as you can to see if any such service exists where you’re going. If this fails, try contacting local taxi companies or regular transport providers to see if they can offer wheelchair-accessible transport. Alternatively, it worth contacting local disability organisations and support groups as they may have information on what help is available.
6. Booking flights
When Martyn and I book flights, we often use the same booking services on airline or on third-party websites, such Expedia or Ebookers, as most have an option to declare that you need special assistance.
When arranging assistance, book as far in advance as possible and be as detailed as you can when it comes to describing the help you need. You will also need to confirm whether you are taking any special equipment. The majority of airlines will allow you to take one mobility item free of charge. Long-haul airlines will usually allow you to take a second item for free, too. But budget airlines generally charge a fee for the second item.
When we travel, we need to be lifted onto the plane and then lifted into our seats. Sometimes it’s also been necessary to arrange assistance to help carry our bags from our car to the check-in desk. We also insist, where possible, on being able to use our own powered wheelchairs to take us to the gate.
However, this is not always possible at certain airports. Unfortunately, you may have to be transferred to an airport wheelchair, while your own wheelchair is checked in with the rest of your luggage. Nonetheless, this is something you should check with the airline during the booking process.
Finally, we usually ask for bulkhead seats (ones at the front of the airplane), as these will have more space. On the downside, other seats of this type are likely to be occupied by babies and young children.
7. Equipment
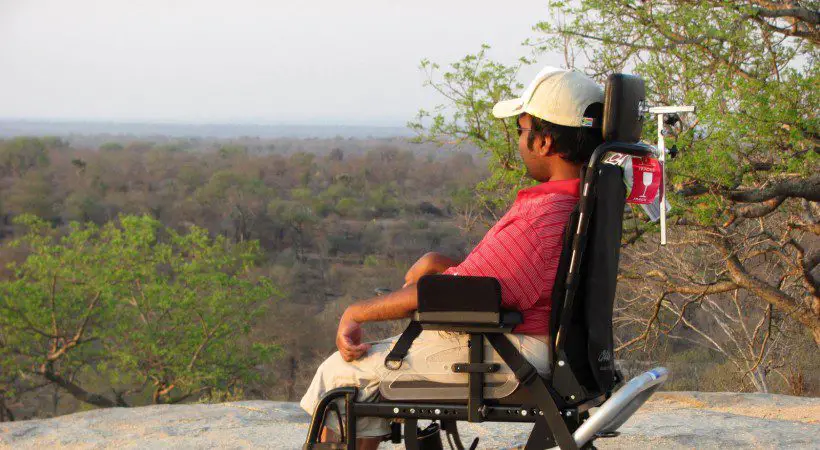
The next thing you need to consider is the equipment you need to take with you, and the best way to prepare it for travel. The more you take, the trickier it can be to move around, especially if the equipment is heavy, so just take what you absolutely need. For us, in addition to our wheelchairs, we also take a portable hoist and portable shower chair.
Try and rent equipment from local providers where you’re going, as this means you won’t have to transport the equipment there. Unfortunately that’s not always possible in some places. It may also not be practical if your travelling around between many locations on your trip.
It is important to make sure that any equipment you are taking is packed correctly and is sufficiently protected. Baggage handlers are notorious for damaging equipment, so it’s important to assess what the best way to pack your important items is.
It’s worth contacting the company you got the equipment for their advice on what should be done. Usually, it’s best to remove pieces that are detachable or fragile, and pack them separately in bubble wrap. Items such as batteries and chargers should also be protected where possible.
If you have any equipment that is battery operated, always check whether chargers can be used abroad. This is most often a problem when travelling to the US as standard voltage supply is 110V, whereas in most of Europe and Asia it is around 230V.
More often than not, a charger designed for 230V will not work at 110V. Check with manufacturer whether voltage differences prevent the charger from working. We assure you that there are few things more annoying than a charger that is not working!
8. Checklists
Before travelling, always put together a list of things you need. Once you start writing it all down, it is often surprising how much you need to take. Mobility items, such as hoists and wheelchairs, need chargers, batteries and various connector cables.
Once you add additional items, such as transfer boards, sliding sheets, catheter supplies etc, along with the usual non-disability related items, such as cameras, phones (and the chargers that they need), you can end up with a long list of things to take. A checklist will mean nothing gets forgotten.
9. Getting to the airport
When you’re busy organising everything for the trip, it can be easy to overlook how you are actually going to get to the airport. The easiest, but most expensive option, is to simply take an accessible taxi – the accessibility of public transport to the airport varies a lot.
The other option is to take your own car and park it at the airport. Although airport parking charges are often high, this might work out cheaper than a taxi. In addition, airport’s in the UK will normally provide a valet-type service at no extra charge to the normal car park costs, which can be really useful. It means that a car park operator will meet you at the departure terminal and collect your car. On arrival back in the UK, they will also bring your car to the arrivals terminal.
Additionally, think about how you will get your luggage from the train station, your car or the taxi drop off point to the check-in desk. Some airlines will provide assistance with this as part of the special arrangements organised. However, in some countries, where this is not available, the only remaining option is to use (for a fee) an airport porter service, which is usually available at most airports.
10. At the airport
Check-in queues can often be long and crowded. Therefore, at most UK airports, if you have arranged special assistance and are a wheelchair user, you will be allowed to use designated check-in desks that are less crowded and far quicker.
At check-in, make sure you repeat to the staff member serving you that you have arranged special assistance. Ask them to confirm what assistance they have recorded that you need. If this is insufficient, be firm and make sure you are given the help you need.
If you are using your own wheelchair, always insist on travelling in this to the gate. Moreover, ask whether the airline can give your wheelchair back at the aircraft door as you leave the plane, rather than at the baggage carousel. This saves you having to be pushed in an airport wheelchair through arrivals until you retrieve your wheelchair at baggage collection.
11. Prior to boarding
This is the point at which you should start getting your wheelchair ready to be handed over to the airline. If you use a powered wheelchair, you need to disengage the batteries. Make sure you find out the best way to do this before you travel by contacting the manufacturer. In our wheelchairs’ there is a cable behind the joystick box that is easily removed.
If you do not turn the battery off yourself, baggage handlers will usually pull out various wires connected to the battery in order to make sure that the wheelchair does not switch on during the flight. If you let them know that the wheelchair has already been deactivated, the baggage handlers are unlikely to do anything to the wheelchair.
At the gate, if you cannot independently get to your seat, you will need to be lifted onto the plane. This involves first being manually transferred to aisle chair. To make this manual lift easier, a lifting or manual transfer harness can help.
Unfortunately, the aisle chair is never comfortable, but you will not be in the chair for more than a few minutes. The airport porters will move you in the aisle chair to your seat, and then lift you onto it.
This part of the travel process can often be the most daunting as it involves being removed from your own comfy wheelchair, into an uncomfortable aisle chair, and being manually handled several times by people you don’t know. But it is done relatively quickly, and once you are in your seat for the flight, you can sit back and relax!

12. Arriving at your destination
Once you land, if you need special assistance and are unable to independently leave the plane, you will be assisted once all the other passengers have disembarked. The procedure is a reversal of what is needed to get you onto the plane. Depending on the airport and whether you have been able to request it, you will hopefully receive your own wheelchair at the aircraft door.
If you need help with collecting luggage, make sure you arrange this with the airline beforehand. When you get your luggage, have a quick check of your mobility or medical equipment. If there is any visible damage, make sure you report this at your airline’s customer service desk there and then at the arrivals hall. This will make it much easier to claim the cost of repairing your equipment from the airline.
Hopefully at this point, all your transport has been arranged from the airport, so all that remains is to enjoy your trip!
By Srin Madipalli
We’d love to hear your travel tips and stories. Get in touch by messaging us on Facebook, tweeting us @DHorizons, emailing us at editor@disabilityhorizons.com or leaving your comments below.
Thank you for such a very informative and helpful article.